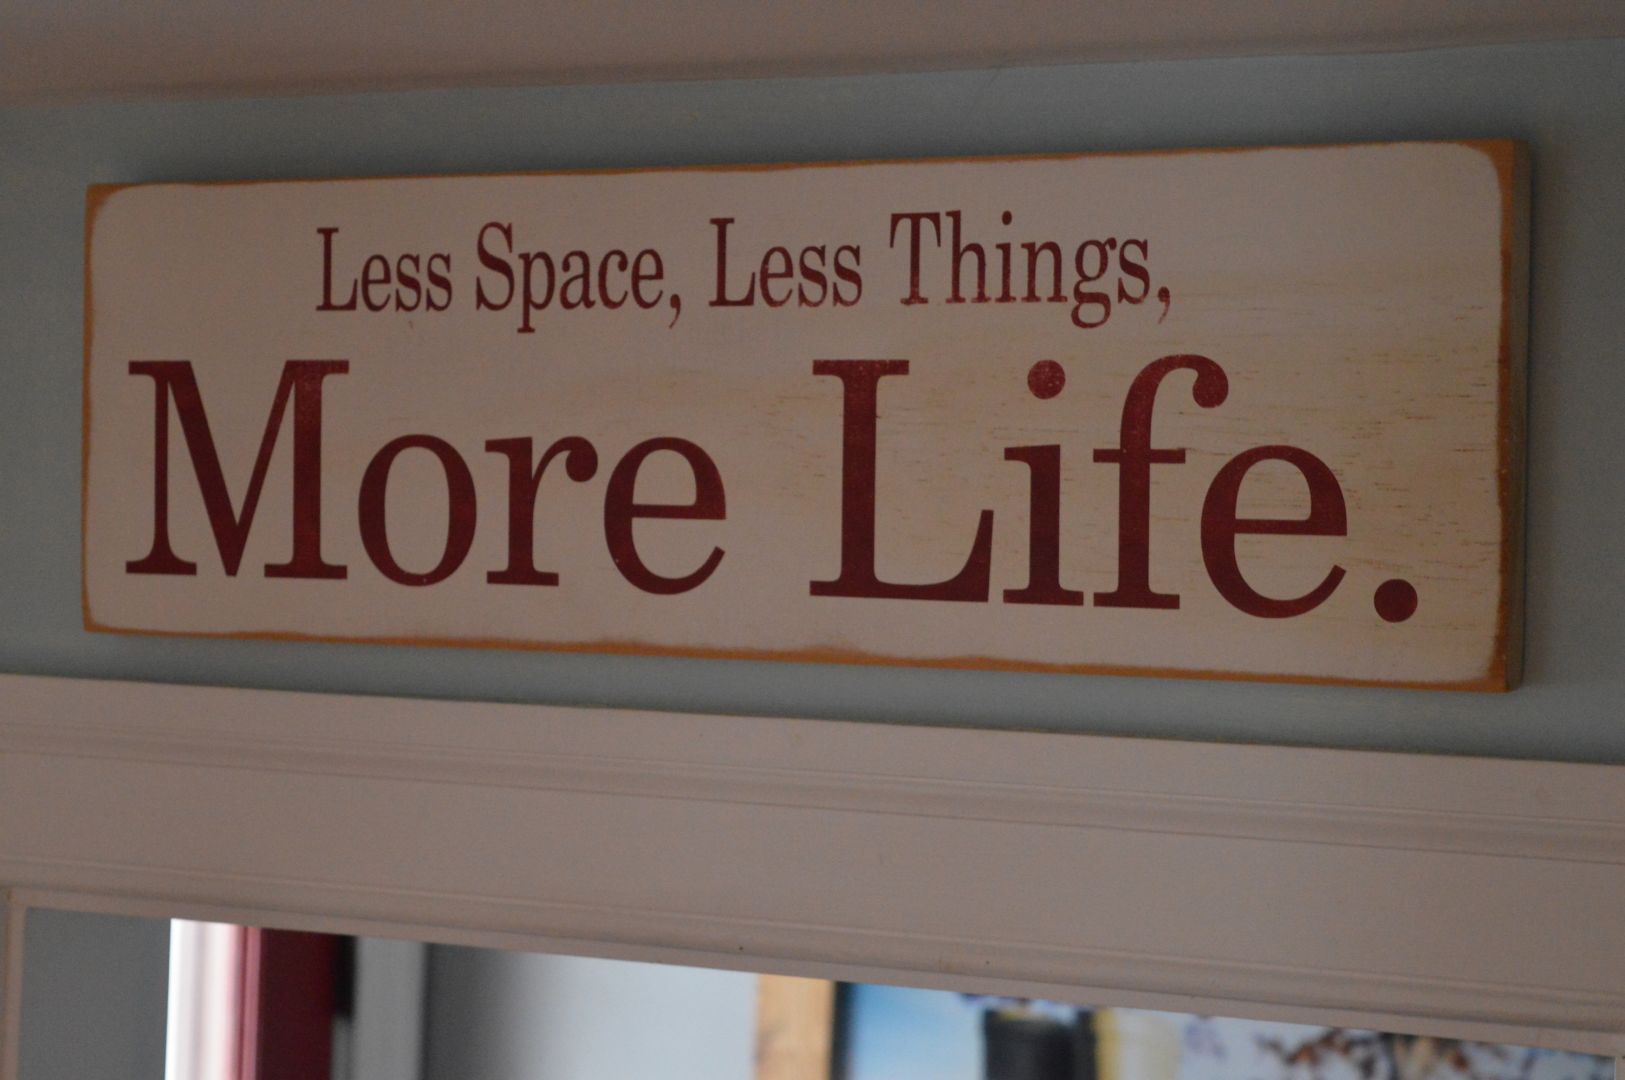
My husband and I live with our three little girls in a little house, and little girls can accumulate a lot of little stuff over the course of a decade. We strive to maintain a sensible balance of quality over quantity and old versus new without letting our emotions hinder our "Less Space, Less Things, More Life" family motto. That doesn’t mean that I am not a sentimental person – an old photo, a song, or the smell that only new babies emit all have the power to turn me into a puddle. Some die-hard sentimentals hold on to things that conjure such emotions, things that lack function, and serve as a simple nostalgic keepsake to remind us of a favorite moment in time, but not me. I love antiques and heirloom pieces and a great yard sale vintage find as much as the next person, but broken keepsakes that can’t be fixed certainly do not occupy prime real estate in our small home, unless it can be repurposed. Books are among those things that hold meaning, but can outlive their original purpose--but upcycled books can find new life!
Nostalgia has borne some resourceful craft trends over time that integrate this concept of repurposing. Most people know a crafty grandmother who has upcycled baby clothes into quilts. Similarly, I have been turning some of our favorite children’s books into sweet buntings that will brighten up any room.
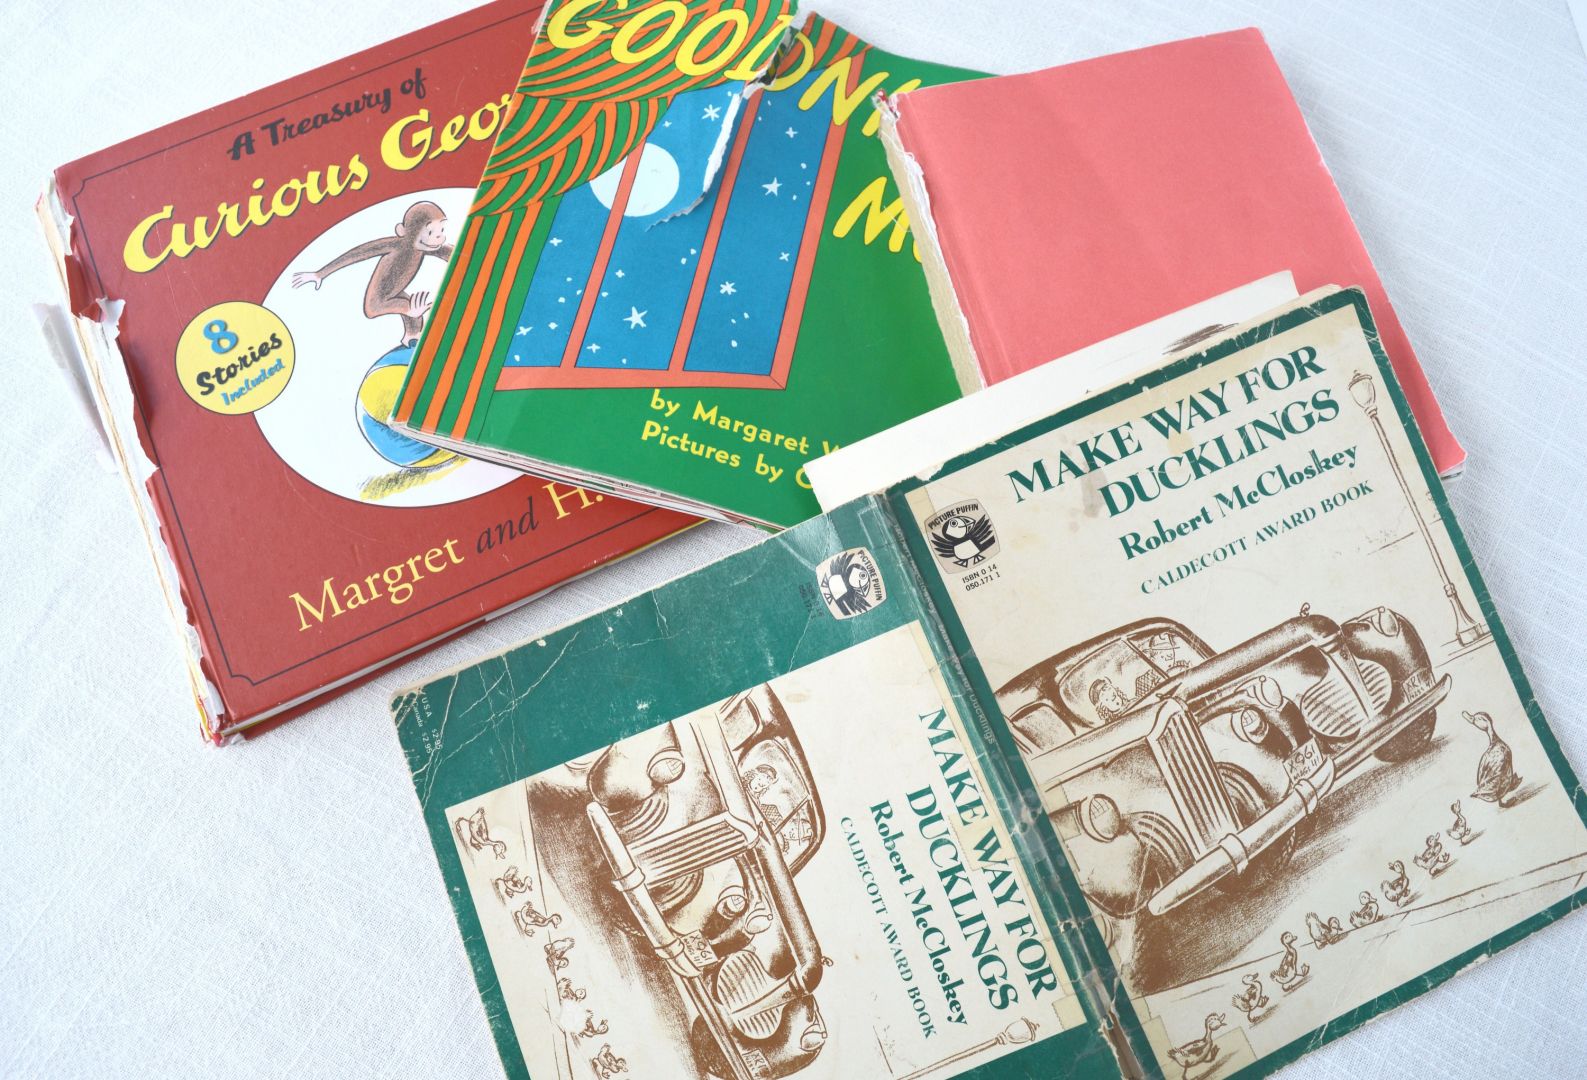
Let’s face it, parents love children’s books just as much as kids. Whether they are old classics or modern witty tales, we adore the artful illustrations, the gentle sing-song of a rhyming story, or the silly antics of our favorite storybook characters. The most cherished books often become tattered, wrinkly messes that kids stuff into pillow cases or sneak into the car for road trips to the beach. The spines split, the covers get torn, the page corners become nibbled and dog eared. The thought of sending these treasured books into the recycling bin is tragic to book-loving parents like myself, so why not breathe new life into old books by creating whimsical buntings for a bedroom, a book nook, a classroom, or even a baby shower gift!
Here is how to make an easy project with or without the inherited sewing skills of a crafty grandmother.
Supply List:
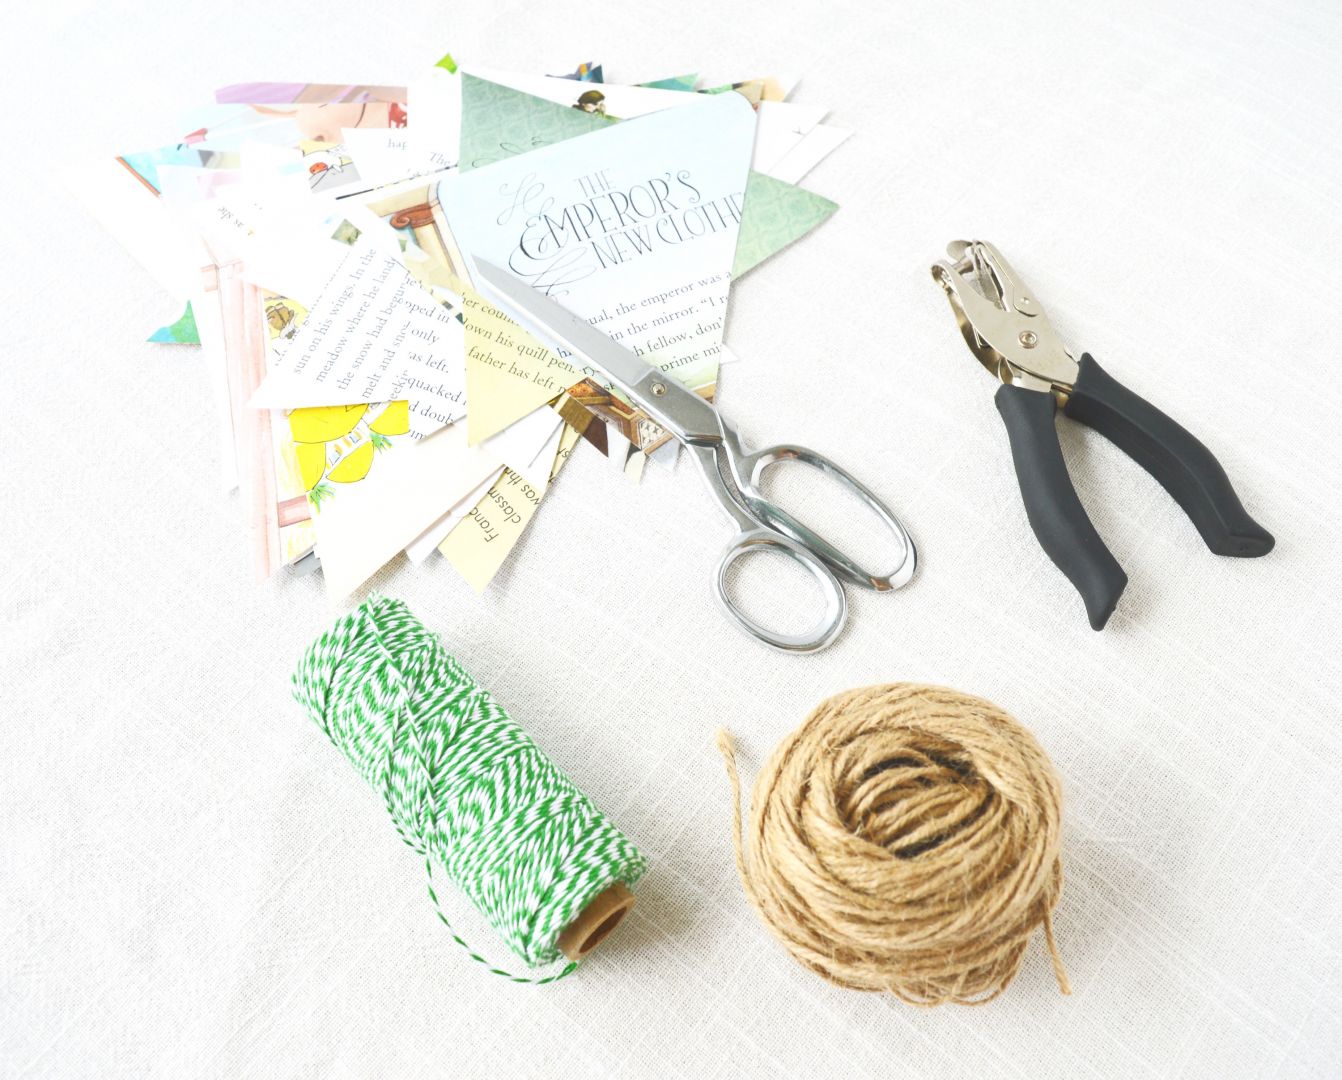
- Scissors (paper and fabric scissors)
- Old books
- Bias tape or twine
- Sewing machine (optional)
- Thread to match the bias tape
- Hole punch
Step 1:
Choose a book and bias tape (for sewing) or twine (if not sewing). Cut the book pages into the flag shape of your choice (triangle flag pieces are most typical). The number and size of each will depend on the length of your bunting.
Step 2:
Cut your bias tape or twine to the desired length of bunting. You may want to lay out the story flag pieces in a particular arrangement before sewing the pieces into the bunting.
Step 3:
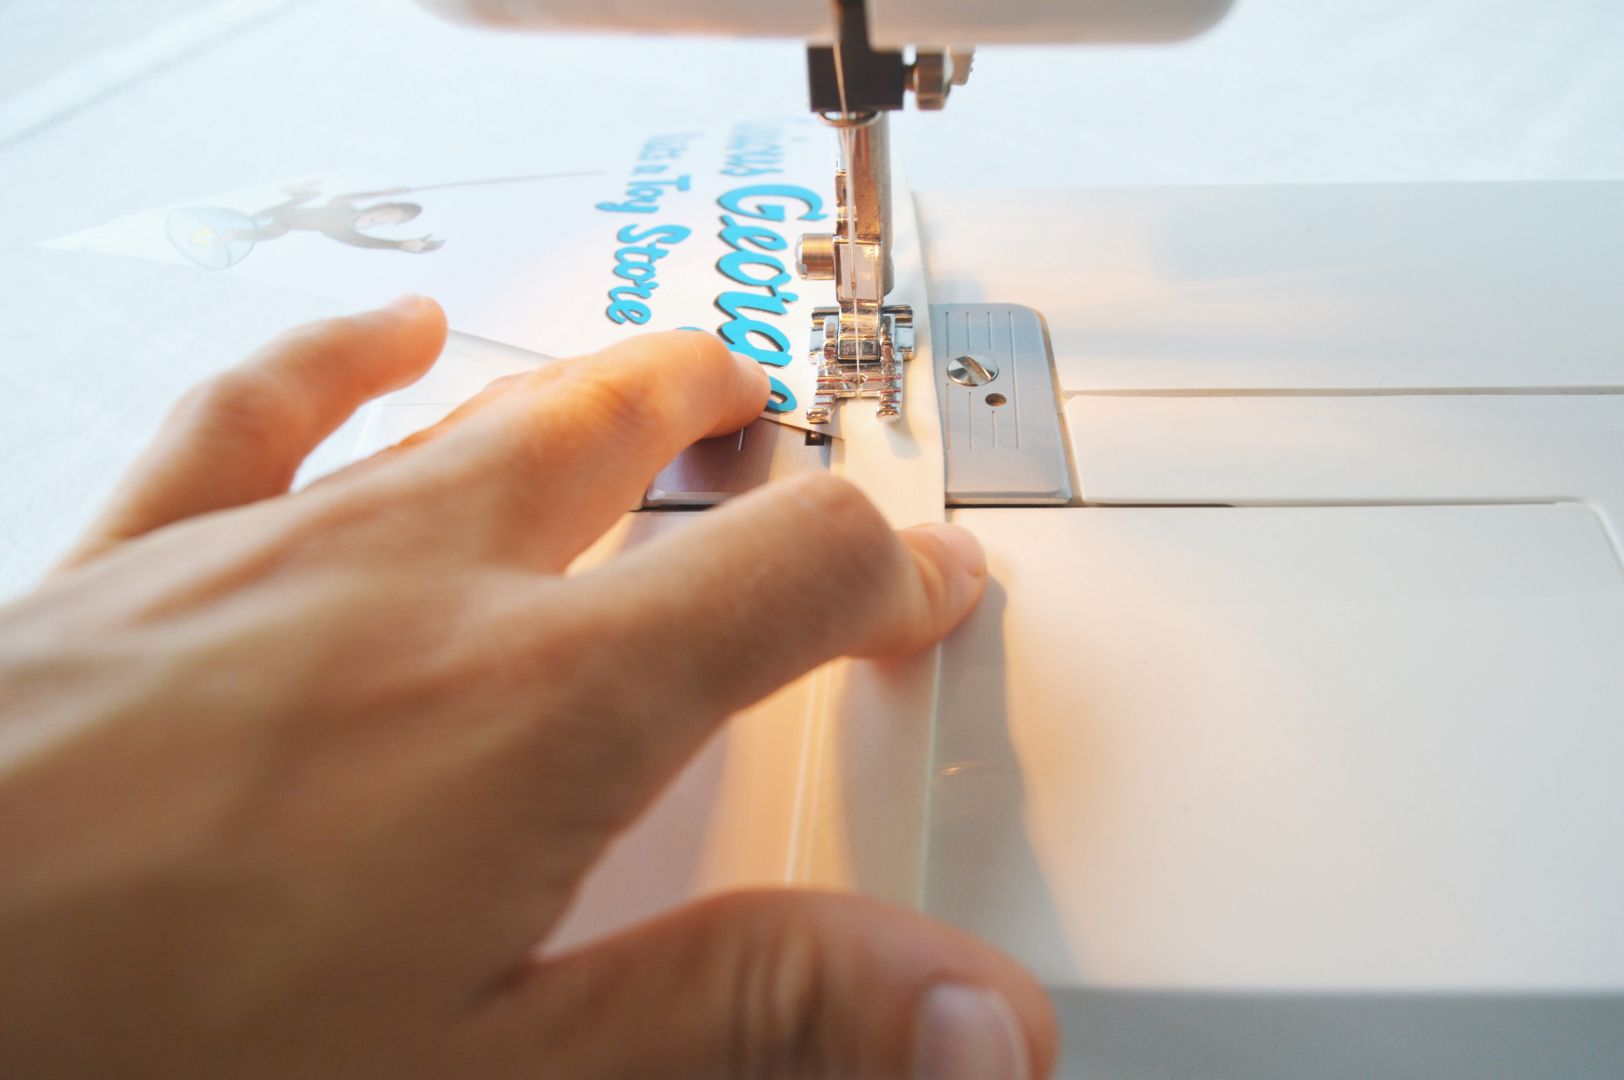
If you are using a sewing machine, run a straight stitch along the edge of the bias, ensuring that each paper flag piece is inserted into the centre fold of the bias tape. You will need to hold the flag piece in place as you sew. Always backstitch on each end of the bias tape to prevent the stitch from unravelling.
OR
If you are not using a sewing machine, use a hole punch to place a hole on each end of the paper flag piece (or add more holes for a fancier finish!) and lace your twine through the holes.
Step 4:
Hang your bunting and enjoy!

*Originally published September 2, 2016


